3. Introductory Tutorial
This guide assumes your machine meets the requirements outlined in the Installation section of this documentation.
3.1. Getting help
Should you run into trouble and can’t figure out how to solve it yourself, you can get help from either our mailinglist or IRC channel #django-cms on the irc.freenode.net network.
3.2. Configuration and setup
3.2.1. Preparing the environment
Gathering the requirements is a good start, but we now need to give the CMS a Django project to live in, and configure it.
3.2.1.1. Starting your Django project
The following assumes your project will be in ~/workspace/myproject/.
Set up your Django project:
cd ~/workspace
django-admin.py startproject myproject
cd myproject
python manage.py runserver
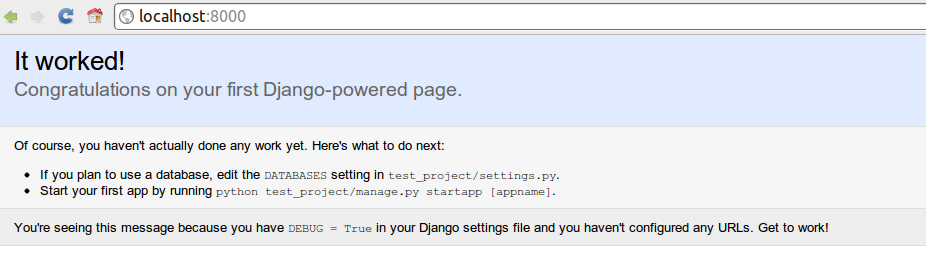
Open 127.0.0.1:8000 in your browser. You should see a nice “It Worked” message from Django.
3.2.1.2. Installing and configuring django CMS in your Django project
Open the file ~/workspace/myproject/settings.py.
To make your life easier, add the following at the top of the file:
# -*- coding: utf-8 -*-
import os
gettext = lambda s: s
PROJECT_PATH = os.path.abspath(os.path.dirname(__file__))
Add the following apps to your :setting:`django:INSTALLED_APPS` which enable django CMS and required or highly recommended applications/libraries):
- 'cms', django CMS itself
- 'mptt', utilities for implementing a modified pre-order traversal tree
- 'menus', helper for model independent hierarchical website navigation
- 'south', intelligent schema and data migrations
- 'sekizai', for javascript and css management
Also add any (or all) of the following plugins, depending on your needs:
- 'cms.plugins.file'
- 'cms.plugins.flash'
- 'cms.plugins.googlemap'
- 'cms.plugins.link'
- 'cms.plugins.picture'
- 'cms.plugins.snippet'
- 'cms.plugins.teaser'
- 'cms.plugins.text'
- 'cms.plugins.video'
- 'cms.plugins.twitter'
They are described in more detail in chapter Plugins reference. There is even more plugins available on django CMS extensions page.
Further, make sure you uncomment (enable) 'django.contrib.admin'
You might consider using django-filer with django CMS plugin and its components instead of cms.plugins.file, cms.plugins.picture, cms.plugins.teaser and cms.plugins.video core plugins. In this case you should not add them to :setting:`django:INSTALLED_APPS` but add those instead:
- 'filer'
- 'cmsplugin_filer_file'
- 'cmsplugin_filer_folder'
- 'cmsplugin_filer_image'
- 'cmsplugin_filer_teaser'
- 'cmsplugin_filer_video'
If you opt for core plugins you should take care that directory to which :setting:`CMS_PAGE_MEDIA_PATH` setting points (by default cms_page_media/ relative to :setting:`django:MEDIA_ROOT`) is writable by the user under which Django will be running. If you have opted for django-filer then similar requirement exists based on its configuration.
If you want versioning of your content you should also install django-reversion and add it to :setting:`django:INSTALLED_APPS`:
- 'reversion'
You need to add the django CMS middlewares to your :setting:`django:MIDDLEWARE_CLASSES` at the right position:
MIDDLEWARE_CLASSES = (
    'django.middleware.common.CommonMiddleware',
    'django.contrib.sessions.middleware.SessionMiddleware',
    'django.middleware.csrf.CsrfViewMiddleware',
    'django.contrib.auth.middleware.AuthenticationMiddleware',
    'django.contrib.messages.middleware.MessageMiddleware',
    'cms.middleware.multilingual.MultilingualURLMiddleware',
    'cms.middleware.page.CurrentPageMiddleware',
    'cms.middleware.user.CurrentUserMiddleware',
    'cms.middleware.toolbar.ToolbarMiddleware',
)
You need at least the following :setting:`django:TEMPLATE_CONTEXT_PROCESSORS`:
TEMPLATE_CONTEXT_PROCESSORS = (
    'django.contrib.auth.context_processors.auth',
    'django.core.context_processors.i18n',
    'django.core.context_processors.request',
    'django.core.context_processors.media',
    'django.core.context_processors.static',
    'cms.context_processors.media',
    'sekizai.context_processors.sekizai',
)
Note
This setting will be missing from automatically generated Django settings files, so you will have to add it.
Point your :setting:`django:STATIC_ROOT` to where the static files should live (that is, your images, CSS files, Javascript files...):
STATIC_ROOT = os.path.join(PROJECT_PATH, "static")
STATIC_URL = "/static/"
ADMIN_MEDIA_PREFIX = "/static/admin/"
For uploaded files, you will need to set up the :setting:`django:MEDIA_ROOT` setting:
MEDIA_ROOT = os.path.join(PROJECT_PATH, "media")
MEDIA_URL = "/media/"
Note
Please make sure both the static and media subfolder exist in your project and are writable.
Now add a little magic to the :setting:`django:TEMPLATE_DIRS` section of the file:
TEMPLATE_DIRS = (
    # The docs say it should be absolute path: PROJECT_PATH is precisely one.
    # Life is wonderful!
    os.path.join(PROJECT_PATH, "templates"),
)
Add at least one template to :setting:`CMS_TEMPLATES`; for example:
CMS_TEMPLATES = (
    ('template_1.html', 'Template One'),
    ('template_2.html', 'Template Two'),
)
We will create the actual template files at a later step, don’t worry about it for now, and simply paste this code in your settings file.
Note
The templates you define in :setting:`CMS_TEMPLATES` have to exist at runtime and contain at least one {% placeholder <name> %} template tag to be useful for django CMS. For more details see Creating templates
The django CMS will allow you to edit all languages which Django has built in translations for, this is way too many so we’ll limit it to English for now:
LANGUAGES = [
    ('en', 'English'),
]
Finally, setup the :setting:`django:DATABASES` part of the file to reflect your database deployment. If you just want to try out things locally, sqlite3 is the easiest database to set up, however it should not be used in production. If you still wish to use it for now, this is what your :setting:`django:DATABASES` setting should look like:
DATABASES = {
    'default': {
        'ENGINE': 'django.db.backends.sqlite3',
        'NAME': os.path.join(PROJECT_PATH, 'database.sqlite'),
    }
}
3.2.2. URL configuration
You need to include the 'cms.urls' urlpatterns at the end of your urlpatterns. We suggest starting with the following urls.py:
from django.conf.urls.defaults import *
from django.contrib import admin
from django.conf import settings

admin.autodiscover()

urlpatterns = patterns('',
    (r'^admin/', include(admin.site.urls)),
    url(r'^', include('cms.urls')),
)

if settings.DEBUG:
    urlpatterns = patterns('',
    url(r'^media/(?P<path>.*)$', 'django.views.static.serve',
        {'document_root': settings.MEDIA_ROOT, 'show_indexes': True}),
    url(r'', include('django.contrib.staticfiles.urls')),
) + urlpatterns
3.3. Creating templates
django CMS uses templates to define how a page should look and what parts of it are editable. Editable areas are called placeholders. These templates are standard Django templates and you may use them as described in the official documentation.
Templates you wish to use on your pages must be declared in the :setting:`CMS_TEMPLATES` setting:
CMS_TEMPLATES = (
    ('template_1.html', 'Template One'),
    ('template_2.html', 'Template Two'),
)
If you followed this tutorial from the beginning, we already put this code in your settings file.
Now, on with the actual template files!
Fire up your favorite editor and create a file called base.html in a folder called templates in your myproject directory.
Here is a simple example for a base template called base.html:
{% load cms_tags sekizai_tags %}
<html>
  <head>
      {% render_block "css" %}
  </head>
  <body>
      {% placeholder base_content %}
      {% block base_content%}{% endblock %}
      {% render_block "js" %}
  </body>
</html>
Now, create a file called template_1.html in the same directory. This will use your base template, and add extra content to it:
{% extends "base.html" %}
{% load cms_tags %}

{% block base_content %}
  {% placeholder template_1_content %}
{% endblock %}
When you set template_1.html as a template on a page you will get two placeholders to put plugins in. One is template_1_content from the page template template_1.html and another is base_content from the extended base.html.
When working with a lot of placeholders, make sure to give descriptive names for your placeholders, to more easily identify them in the admin panel.
Now, feel free to experiment and make a template_2.html file! If you don’t feel creative, just copy template_1 and name the second placeholder something like “template_2_content”.
3.3.1. Static files handling with sekizai
The django CMS handles media files (css stylesheets and javascript files) required by CMS plugins using django-sekizai. This requires you to define at least two sekizai namespaces in your templates: js and css. You can do so using the render_block template tag from the sekizai_tags template tag libary. It is highly recommended to put the {% render_block "css" %} tag as last thing before the closing </head> HTML tag and the {% render_block "js" %} tag as the last thing before the closing </body> HTML tag.
3.3.2. Initial database setup
This command depends on whether you upgrade your installation or do a fresh install. We recommend that you get familiar with the way South works, as it is a very powerful, easy and convenient tool. django CMS uses it extensively.
3.3.2.1. Fresh install
Run:
python manage.py syncdb --all
python manage.py migrate --fake
The first command will prompt you to create a super user; choose ‘yes’ and enter appropriate values.
3.3.3. Up and running!
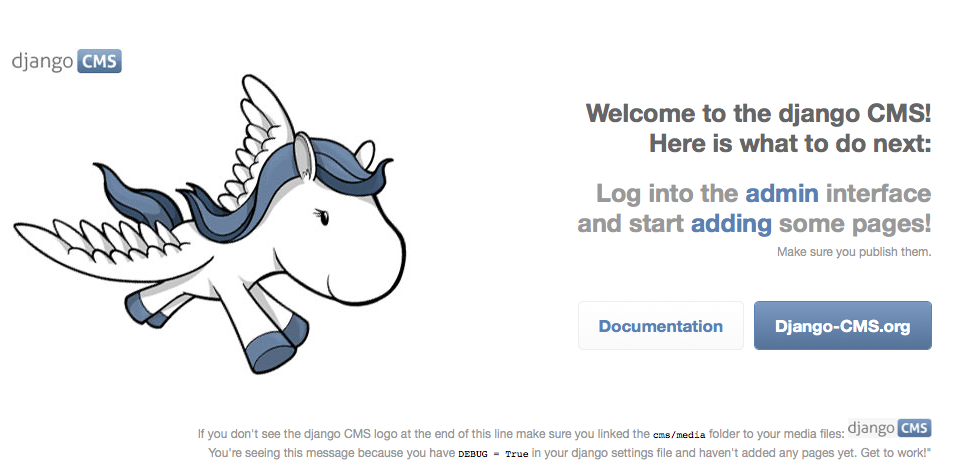
That should be it. Restart your development server using python manage.py runserver and point a web browser to 127.0.0.1:8000 :you should get the django CMS “It Worked” screen.
Head over to the admin panel <http://127.0.0.1:8000/admin/> and log in with the user you created during the database setup.
To deploy your django CMS project on a production webserver, please refer to the Django documentation.
3.4. Creating your first CMS Page!
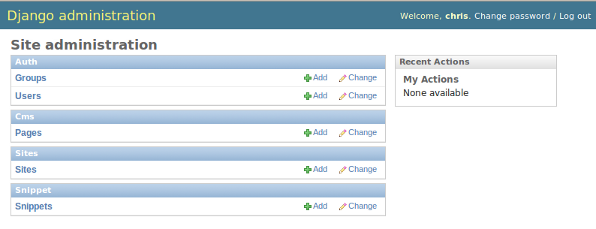
That’s it, now the best part: you can start using the CMS! Run your server with python manage.py runserver, then point a web browser to 127.0.0.1:8000/admin/ , and log in using the super user credentials you defined when you ran syncdb earlier.
Once in the admin part of your site, you should see something like the following:
3.4.1. Adding a page
Adding a page is as simple as clicking “Pages” in the admin view, then the “add page” button on the top right-hand corner of the screen.
This is where you select which template to use (remember, we created two), as well as pretty obvious things like which language the page is in (used for internationalisation), the page’s title, and the url slug it will use.
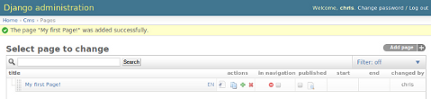
Hitting the “Save” button, well, saves the page. It will now display in the list of pages.
Congratulations! You now have a fully functional django CMS installation!
3.4.2. Publishing a page
The list of pages available is a handy way to change a few parameters about your pages:
3.4.2.1. Visibility
By default, pages are “invisible”. To let people access them you should mark them as “published”.
3.4.3. Adding content to a page
So far, our page doesn’t do much. Make sure it’s marked as “published”, then click on the page’s “edit” button.
Ignore most of the interface for now, and click the “view on site” button on the top right-hand corner of the screen. As expected, your page is blank for the time being, since our template is really a minimal one.
Let’s get to it now then!
Press your browser’s back button, so as to see the page’s admin interface. If you followed the tutorial so far, your template (template_1.html) defines two placeholders. The admin interfaces shows you theses placeholders as sub menus:
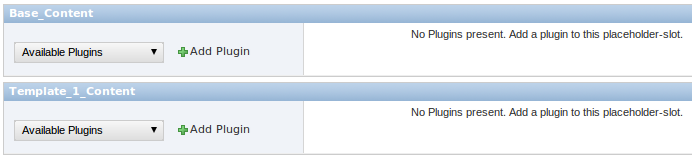
Scroll down the “Available plugins” drop-down list. This displays the plugins you added to your :setting:`django:INSTALLED_APPS` settings. Choose the “text” plugin in the drop-down, then press the “Add” button.
The right part of the plugin area displays a rich text editor (TinyMCE).
Type in whatever you please there, then press the “Save” button.
Go back to your website using the top right-hand “View on site” button. That’s it!

3.4.4. Where to go from here
Congratulations, you now have a fully functional CMS! Feel free to play around with the different plugins provided out of the box, and build great websites!